Wednesday, August 22, 2012

Five Minute Clear Drawer Re-do!

So we have this ugly little set of clear drawers that we use by our desk to
house all of our office supplies.  Our desk is not really a "desk"...it's a used
restaurant table, but it serves it's purpose and is working just fine for now!
Since we need these drawers I wanted to see if I could somehow hide
the contents that were lurking inside:


My solution?  Scrapbook paper!


I simply cut some scrapbook paper to size and attached them to the front 
of the drawers.  


A definite improvement and it took all of five minutes!
My kind of project!

Monday, August 20, 2012

Big Kid Rooms are here!

What a difference a weekend makes!  
Friday afternoon we got a wild hair and decided that the day had come 
to finally get moving on the big kid rooms!  Within a few short hours
we had not only the guest bedroom completely cleaned out but all three
cribs dismantled and new beds moved in! 

It was a lot of work and the rest of our house is a disaster, but 
I wanted to share a glimpse of the new rooms!  
The kids are beyond proud of their "BIG" beds.

Here they all are on Maddux's new bed!


Just when I thought they were getting so big, seeing him on this queen 
sized bed reminds me of how small he still is.


I know this picture is blurry but you can still see the 
excitement on their faces as the girls entered their new room for the first time!


Nola is so excited!


Luce was ready for us to turn off the lights and go to bed!


You can see here that I pretty much have a blank slate for the decor in this room (both rooms, really).
For now we aren't going to paint but we may change our mind.  I definitely need to 
figure out a window treatment solution.  Since the beds are in front of the window
I'm limited.  I am thinking about maybe a roman shade that will add color to the room 
and can also be pulled down to block out the morning sun.  I've researched
a few tutorials online but I'm still a little intimidated.  
Any suggestions?


So, that's where we are for now!  I'm still working on getting all of the girls clothes moved from 
the room that they all shared to this room as well as trying to organize everything that's coming back in
and everything else that was moved out of this room.  

Stay tuned for progress!

Wednesday, August 15, 2012

Entryway and Projects

Hello Hello!

Well, tomorrow is the BIG day!  The kiddos will be going back to preschool 
two days a week and I will get six whole hours to myself
on each of those days to work on some MUCH needed projects
and enjoy some quite time.  Bless their hearts.  They are precious kids, but 
I'm looking forward to some mommy-only time around the house!

I haven't posted in a while because I haven't done anything new around the house 
except create a huge mess!  I did update our foyer table for summer 
with items I already had lying around the house.  I stole this table
runner from the kitchen because I felt like there were just way too many
wood tones happening.  I think this helped to add a little color as well 
as some $3 grocery store flowers and the green bird candle.  


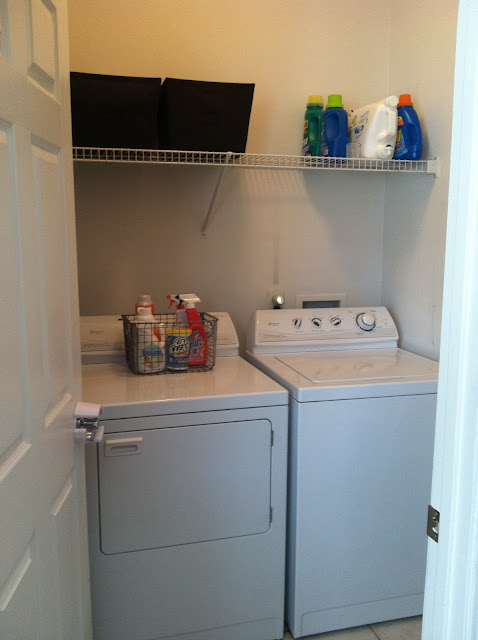
The mess that I mentioned above is all because of this guest bedroom/storage room that 
will soon be the girl's room.  You would not believe how much stuff was crammed into this room!
As of right now, what has been cleared out is now in the dining room.  Lovely.  
Here's where we are now:


Have you ever?!?  I HOPE that this weekend we will be able to clear everything else out
and bring the new twin beds in that were given to us by my in-laws.  I have their bedding
and I've picked up a few accessories for their room.  We are probably not going to paint the 
walls so I am planning to add color with accessories and art.  

Other than that, I also have plans for this guy who is in serious need of love:


My problem is that I have decorating A.D.D. and move from room to room
without ever completing anything!  I am really going to try to focus and 
utilize my new found freedom free time wisely! 

Wish me luck!

Thursday, June 28, 2012

Big Boy Room Flea Market Finds

I am in the VERY preliminary stages of preparing for the kiddos "big kid rooms".  
I cannot even tell you how excited I am about decorating their rooms!  Up to this point they 
have all been in the same room so the decor had to be very neutral and non-gender specific.  
I am so thrilled about having the opportunity to now decorate a boy room and a 
girly room!  I have actually had the bedding for all three of their "big" beds for 
over a year now.  I found them all at Pottery Barn Kids on Clearance so they 
have been in storage up until this point.

I am in the process of cleaning out the guest bedroom to soon be the girl's room.
Since our house lacks much storage that room has been a catch-all junk room for the past 
three years so it's taking a while to get it cleaned out.  Once that's done, we will move the 
existing bed to Maddux's room (the room that they are currently all three in)
and then we'll set up the girl's twin beds in there.  

This past weekend my mom and I went to the Nashville Flea Market (my favorite
thing to do!) and I found some cute things for Maddux's room!

First, here is the bedding that he will be using...a Hawaiian/Surf theme: 


This is something else that I've had for quite some time.  
I found it at this Etsy shop:


I picked up a bunch of old license plates.  I'm not exactly sure what I'm 
going to do with them, but I'm thinking a gallery wall? Or maybe
mount them on some old wood???


And I just fell in love with these!  They are vintage language flash 
cards from the 1960's!  I plan on framing them...
(sorry this pic turned on it's side...my computer is not behaving today!)


He will be using an old iron bed that has been in my husband's family for years
as well as some other hand-me-down pieces of furniture.  
I can hardly wait!  Now, what I can't wait for is them now being
able to get out of bed and scare the daylights out of me in the middle of the night!  

Wednesday, June 20, 2012

{DIY} Chevron Doormat


Morning, y'all!

Today I am sharing with you my DIY Chevron Doormat!


I wanted to add a little color to my front porch area and I wanted to make 
it something festive but also something that would last all summer.
In my opinion, you can never go wrong with red, white and blue!

I had been wanting to attempt my own DIY rug/doormat for quite sometime and 
this seemed like as good a time as any!  For this, all you need is your rug, some 
masking tape and spray paint.  The plain rug was surprisingly hard to find.  
I ended up finding this natural fiber one at Home Depot for just under $8.


After lots of trial and error To make the process easier, I measured 6 inch 
pieces of tape to make my pattern:


And then taped to the rug in my desired pattern:


Then I got busy painting:


And here she is!  I have to say, I'm quite pleased with her!  


There are a few areas of overspray of paint on the portion that was taped.  
If and when I attempt this project again I will try to be more precise with the angle 
that I am spraying to help with that.  Then again, it could just be that the tape 
didn't want to adhere to the rug at all.  Overall, I'm still very happy 
with my custom rug for under $10!

To add a little more color and add a festive touch, I simply wrapped a foam
wreath with fabric strips and added some DIY felt flowers.  
(There are tons of tutorials online on how to make these felt flowers...so easy!!!)


To finish, I added a tropical looking plant and a bright red pot of flowers.
My mom got me the "Welcome" star as a gift.  (I think from Michael's?)
It goes perfectly with my "Stars and Stripes" theme!  


What about you guys?  How are you adding "summer" to your decor? 
Have you attempted a painted DIY rug?  I'm itching to try another
one, possibly for something inside!  Hmmm...???

Tuesday, June 19, 2012

Little Surprise!

Sometimes it's the little things that make me smile.  Like this adorable 
little owl dish that my mom surprised me with over the weekend.  He makes me so 
happy!!!!  Just look at him!


I thought he would be a perfect little spoon rest for my morning coffee.  
He makes me smile.  


My mom found him at Michael's and I think he was $1.  I'm pretty sure she 
said that it came in other colors as well!  

Thanks, mom!  

Thursday, June 14, 2012

Cold Summer Salads

I love summer!  One of my favorite summer traditions is homegrown tomatoes.
Two of my grandparents who have passed away during the past two years 
absolutely loved tomatoes and were always sharing their loot with us.  As much as I love
the taste of homegrown tomatoes, I also love sharing tomatoes with my own little family and 
in some weird way feel a connection to our grandparents when enjoying them.

This past weekend we went to our local Farmers Market and scooped up some fresh veggies.  Yum!  
But, the hubby and I are so bored with salads with the usual lettuce, veggies and dressing 
so I decided to create my own little "cold salad" using the veggies. 


For this particular salad, I had some left over corn on the cob that the hubs had cooked
on the grill (my absolute favorite way to eat corn on the cob!  If you haven't grilled your corn you 
simply must!  Just soak your corn (husk and all) in some cold water for at least 30 minutes 
then throw it on the grill.  The corn steams itself inside the husk and it brings out the most
amazing flavor ever!)

Back to my salad, I cut the corn off the cob and then added some fresh onion, 
diced tomatoes, a small jalapeno pepper (from our own little container garden on our back deck!)
and some feta cheese.  Then I just squeezed some fresh lemon juice and added some
salt and pepper.  Oh my!  It's delish!


So easy and so yummy!  Now this is the only way I want to eat my veggies now!  
I also tried the same thing only instead of the corn I used fresh cucumbers.  
So good!  And so good for you!!!
Related Posts Plugin for WordPress, Blogger...